
Field-Joining Glass Reinforced Epoxy Pipe: Step-by-Step Procedure to Prevent Joint Leakage
Why Field Joints Fail Before the Pipe Does
The glass reinforced epoxy (GRE) pipe body, when manufactured properly, has consistent wall thickness, uniform fiber distribution, and a cured resin system that delivers predictable pressure ratings. The field joint, by contrast, is assembled under site conditions that vary with weather, crew skill, and tooling quality. That difference explains why most leak incidents trace back to the joint rather than the pipe barrel. A joint is only as reliable as the surface preparation, adhesive application, and curing discipline applied at the moment of assembly.
Understanding what causes joint leakage is the first step toward preventing it. In most field failures, the root cause is not the adhesive chemistry itself but how the surfaces were prepared before the adhesive was applied. Contamination, moisture, or improper abrasion creates weak interfacial bonding that may pass a hydrotest yet fail later under cyclic pressure or thermal movement. Another common cause is misalignment during makeup, which leaves one side of the joint with insufficient adhesive coverage while the opposite side carries excess stress.
Pre-Joining Checks That Determine Joint Success
Before any adhesive is mixed or any tool is brought to the pipe end, the following conditions must be verified. Skipping these checks is the most frequent reason a joint leaks despite following the adhesive manufacturer’s instructions to the letter.
- Pipe end squareness: A cut end that deviates from square by more than a small tolerance will create a gap on one side of the joint. When the pipe is pushed into the coupling, that gap prevents uniform adhesive contact. Field crews should measure the squareness of each cut end with a machinist’s square or a purpose-built alignment tool before proceeding.
- Surface dryness: GRE pipes absorb moisture slowly, and the cut surface can appear dry even when the pipe has been exposed to rain or high humidity. A moisture meter reading above the adhesive manufacturer’s recommended threshold means the joint must be delayed until the pipe end dries. Forcing a joint under damp conditions produces a bond that looks acceptable during assembly but delaminates weeks later.
- Coupling fit check: Before applying adhesive, the coupling should be dry-fitted onto the pipe end. It should slide on with moderate resistance but not require excessive force. If the coupling is too loose, adhesive will squeeze out too quickly and leave an incomplete bond line. If it is too tight, the adhesive may be scraped off during makeup, leaving bare areas on the pipe surface.
- Ambient temperature range: The adhesive system has a specified application temperature window. Below that range, the curing reaction slows dramatically; above it, the pot life shortens and the adhesive may begin to set before the joint is fully made up. Record the ambient temperature and the pipe surface temperature at the joint location, as these can differ by several degrees.
Surface Preparation: Handling, Abrasion, and Solvent Wiping
Surface preparation is where the discipline of a good field joining crew separates from a mediocre one. The goal is to create a clean, roughened surface with a contact angle that allows the adhesive to wet out properly. A glossy, smooth GRE surface does not accept adhesive well, no matter how good the adhesive formulation is.
Start by wiping the pipe end and the internal surface of the coupling with a clean, lint-free cloth saturated with a compatible solvent. The solvent removes release agents, dust, and any oily film that may have accumulated during handling. Crews sometimes use acetone or a proprietary solvent recommended by the adhesive manufacturer. After solvent wiping, the surface must be allowed to evaporate completely. Residual solvent trapped under the adhesive creates gas pockets that weaken the bond.
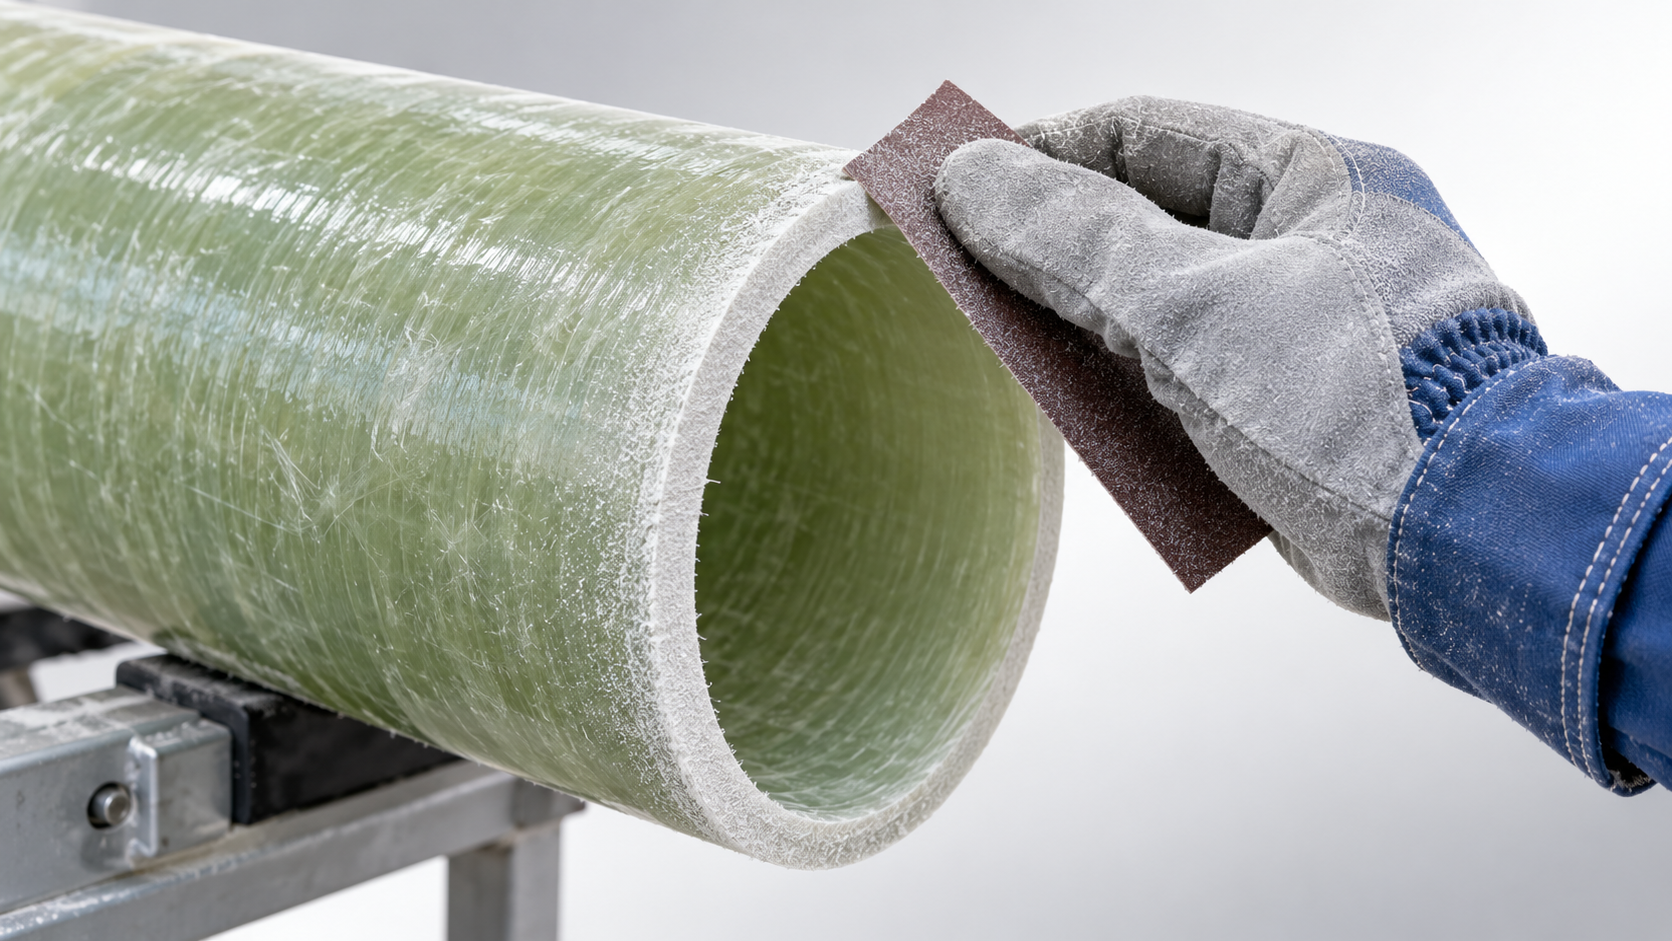
Abrasion follows solvent wiping. The purpose of abrasion is twofold: it removes the outermost resin-rich layer, and it increases the surface area available for bonding. Use an abrasive pad or sandpaper in the grit range recommended by the adhesive manufacturer. Too coarse an abrasive can expose bare glass fibers and create stress concentrations; too fine an abrasive does not remove enough resin. After abrading, the surface should feel uniformly rough to the touch, with no shiny spots remaining. A second solvent wipe removes the abrasive dust left by sanding. Some crews skip this second wipe, but the dust left behind acts as a release agent between the pipe and the adhesive.
One detail that frequently gets overlooked is the condition of the coupling interior. The coupling is often stored with open ends or handled without gloves. Dirt, sand, or moisture inside the coupling will contaminate the adhesive as the joint is made up. The coupling interior must receive the same solvent wipe and inspection as the pipe end before adhesive is applied.
Adhesive Mixing and Application Timing
The adhesive used for GRE field joints typically comes in two parts: a resin base and a hardener or catalyst. The mixing ratio is specified by the manufacturer and must be followed with precision. Using a scale rather than volumetric measuring is strongly recommended, because the two components often have different densities. A small deviation in mixing ratio changes the curing speed and the final mechanical properties of the bond line.
After mixing, the adhesive has a limited pot life. The pot life depends on the ambient temperature: warmer conditions shorten it, cooler conditions extend it. Crews should mix only the amount of adhesive that can be applied within the pot life. Mixing a full batch for multiple joints when the pot life is only 30 minutes invites waste, or worse, application of partially cured adhesive. A common field practice is to assign one crew member to mixing while another prepares the pipe end, so the adhesive is applied as soon as it is ready.
The adhesive should be applied to both the pipe end and the coupling interior. Applying to only one surface is a frequent error. When adhesive is applied to both surfaces, the joint has a better chance of full coverage even if some adhesive is displaced during makeup. The layer thickness should follow the manufacturer’s recommendation. Too thin a layer leaves insufficient bond strength; too thick a layer creates a weak plane that can shear under pressure.
Makeup Procedure: Alignment, Insertion, and Cure Time
Inserting the pipe end into the coupling is the step where misalignment and rushed work cause most joint failures. The pipe must be aligned with the coupling axis before insertion begins. An angular misalignment of even a few degrees causes the adhesive on one side to be scraped away while the opposite side develops a thick, non-uniform bond line. Alignment can be maintained with a straight edge or alignment clamps, especially for larger-diameter pipes where the weight of the pipe makes manual alignment difficult.
The insertion force must be steady and continuous. Stopping partway during insertion disturbs the adhesive film and can leave voids where the adhesive was pushed backward. Reversing the pipe direction to adjust position is worse, as it pulls the adhesive away from the pipe surface. If the pipe must be rotated for alignment, do so before the adhesive reaches its gel stage. Once the adhesive begins to gel, any movement of the joint tears the bond film apart.
After the joint is fully assembled, it must remain undisturbed for the manufacturer’s specified cure time. This cure time is not the same as the time to reach handling strength. The joint may feel firm within an hour, but the chemical reaction continues for several hours or days, depending on the adhesive system and temperature. Pressurizing the line before full cure is a primary cause of joint failures that appear as leaks during commissioning. Cold weather extends cure time significantly; some adhesive systems require a minimum temperature during the entire cure period. In cold conditions, crews sometimes use insulated blankets or temporary heating to maintain the cure temperature.
Detecting a Defective Joint Before It Leaks
Not all joint defects are visible from the outside. A joint with insufficient adhesive coverage or a contaminated bond line can look perfect on the exterior. This is why the field hydrostatic test is an important step, but it is not a complete guarantee. A hydrotest at ambient temperature may not reveal a joint that will fail under elevated temperature or cyclic loading. The pressure test should be held for the recommended duration and observed for pressure decay. A small leak may appear only after the pressure has stabilized and the temperature has equalized.
Visual inspection after makeup can reveal certain defect indicators. A continuous, uniform adhesive fillet around the coupling end suggests good coverage. Gaps in the fillet, adhesive that appears smeared or scraped, or excessive squeeze-out at one side only all point to a potential problem. If the pipe has chalk marks or a witness line from the insertion tool, check that the insertion depth matches the specification. Undersized insertion depth leaves part of the coupling unoccupied and reduces the effective bond area.
Another detection method, where available, is ultrasonic testing of the cured joint. This is more commonly used on large-diameter or high-integrity systems. Ultrasonic testing can identify voids, disbonded areas, and thin adhesive layers that are invisible from the outside. While not every operation has access to this equipment, operations that do use it often catch joint defects that would otherwise appear as leaks in service.
Repairing a Failed Joint Versus Cutting Out
When a field joint leaks, the repair decision depends on the extent of the defect. A small surface leak at the fillet can sometimes be repaired by applying a secondary seal over the joint area, provided the manufacturer permits such repairs and the structural capacity of the original bond is intact. This approach is typically limited to low-pressure, non-critical service lines. It should not be treated as a permanent fix for a pressure-retaining joint on a hydrocarbon line.
For a joint that has fully separated or shows signs of adhesive failure over a large area, the joint must be cut out and remade. Cutting out involves removing the coupling and a portion of the pipe end, then preparing a fresh joint. This is labor-intensive and requires that the adjacent pipe be supported during cutting and re-alignment. The cost of cutting out a joint is often the motivation crews use to take their time during the initial makeup procedure. A careful, well-executed joint takes an hour or two of work; cutting out a failed joint takes a full day and disrupts the entire pipeline schedule.
A third scenario is a joint that leaks only under elevated temperature. This indicates a partially cured or undercured adhesive layer. In some cases, the adhesive can be post-cured by applying external heat to the joint for a specified period. This works only if the adhesive system is designed for elevated-temperature cure and the joint has not already been contaminated. If the detachment is caused by moisture or dirt, post-curing will not restore the bond.
Practice Consistency Across the Crew
The variability between crews is one of the most underestimated factors in field joint reliability. The same adhesive, the same pipe, and the same coupling can produce dramatically different joint quality depending on who performs the work. This is why documented procedures and joint inspection records matter. Each joint should be assigned a unique identifier, with the date, crew names, ambient temperature, adhesive batch number, and cure time recorded. When a leak appears months later, this record is the first place investigators look to understand what went wrong.
For an operation with multiple crews, periodic comparison of joint quality is advisable. A crew that consistently produces joints with thin adhesive fillets or at the low end of the insertion depth range should be retrained. Conversely, a crew that achieves consistent, uniform joints can serve as the reference for best practice. This kind of internal benchmarking is more effective than relying solely on the manufacturer’s generic instructions, because it reflects the actual site conditions and crew skill levels.
Field joint reliability is ultimately a function of process discipline. The pipe material and adhesive system are selected for their proven performance, but that performance is delivered only through correct handling, preparation, assembly, and curing. Each of these steps has a narrow range of acceptable conditions, and exceeding that range introduces a corresponding leak risk. Operators who build their procedures around these boundaries and hold crews accountable to them achieve leak-free GRE pipeline systems that perform for decades.
Related Posts
Please give us a message
产品介绍产品介绍产品介绍产品介绍产品介绍产品介绍产品介绍产品介绍产品介绍产品介绍产品介绍产品介绍产品介绍产品介绍产品介绍产品介绍产品介绍产品介绍产品介绍产品介绍产品介绍产品介绍产品介绍产品介绍产品介绍产品介绍产品介绍产品介绍产品介绍产品介绍
Please give us a message
产品介绍产品介绍产品介绍产品介绍产品介绍产品介绍产品介绍产品介绍产品介绍产品介绍产品介绍产品介绍产品介绍产品介绍产品介绍产品介绍产品介绍产品介绍产品介绍产品介绍产品介绍产品介绍产品介绍产品介绍产品介绍产品介绍产品介绍产品介绍产品介绍产品介绍
Please give us a message
产品介绍产品介绍产品介绍产品介绍产品介绍产品介绍产品介绍产品介绍产品介绍产品介绍产品介绍产品介绍产品介绍产品介绍产品介绍产品介绍产品介绍产品介绍产品介绍产品介绍产品介绍产品介绍产品介绍产品介绍产品介绍产品介绍产品介绍产品介绍产品介绍产品介绍
Please give us a message
产品介绍产品介绍产品介绍产品介绍产品介绍产品介绍产品介绍产品介绍产品介绍产品介绍产品介绍产品介绍产品介绍产品介绍产品介绍产品介绍产品介绍产品介绍产品介绍产品介绍产品介绍产品介绍产品介绍产品介绍产品介绍产品介绍产品介绍产品介绍产品介绍产品介绍